The benefits of worm castings on garden soil & plants
Worm castings, also known as vermicompost, are becoming increasingly popular among gardeners for their incredible benefits. These nutrient-rich organic fertilizers not only improve soil health but also boost plant growth significantly. Understanding the benefits of worm castings on garden soil & plants allows gardeners to harness their full potential.
In this article, we will explore the myriad ways worm castings enhance soil and plant health, their nutritional components, and practical advice on using and making your own worm castings at home.
How do worm castings benefit garden soil and plants?
Worm castings are often referred to as “black gold” due to their rich nutrient profile and ability to improve soil structure. Their benefits include:
- Enhanced nutrient delivery: Worm castings provide essential nutrients such as nitrogen, phosphorus, and potassium, which are crucial for plant growth.
- Improved soil structure: They help create a crumbly soil texture that promotes aeration and drainage, enhancing root health.
- Increased moisture retention: Worm castings can retain moisture, reducing the need for frequent watering.
- Microbial diversity: They introduce beneficial bacteria and fungi that contribute to a healthier ecosystem in the soil.
The result is a more resilient soil that supports sustainable gardening practices. Regularly incorporating worm castings into your garden can lead to healthier plants and increased crop yields.
What are the nutritional components of worm castings?
The nutritional profile of worm castings is what makes them so valuable for gardeners. They are packed with:
- Nitrogen: Essential for leafy growth and overall plant vigor.
- Phosphorus: Important for root development and flower production.
- Potassium: Helps with disease resistance and overall plant health.
- Micronutrients: Including calcium, magnesium, and trace minerals that support various plant functions.
Additionally, worm castings contain beneficial enzymes and hormones that enhance plant health and growth. The worm castings nutrient analysis often reveals higher nutrient levels than traditional compost, making them a superior organic fertilizer.
How to use worm castings for optimal plant growth?
Utilizing worm castings effectively can lead to remarkable improvements in plant health. Here are some tips on how to use worm castings:
- Mix with soil: Incorporate worm castings into your potting mix or garden soil at a ratio of about 10-20% to improve nutrient availability.
- Top dressing: Apply a layer of worm castings on top of the soil around your plants to slowly release nutrients.
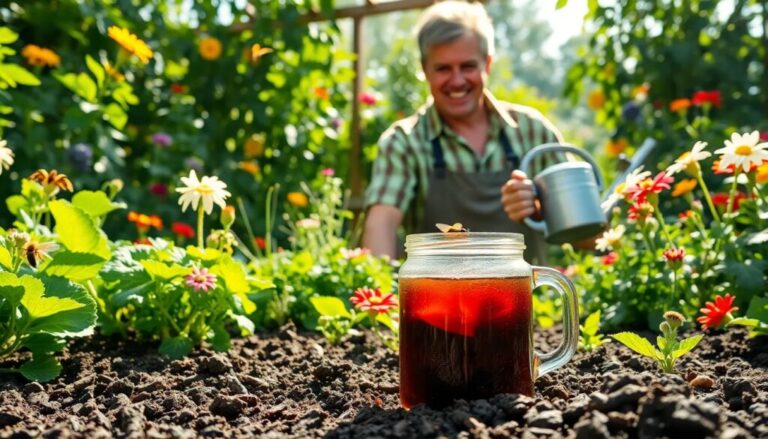
- Liquid fertilizer: Create a worm casting tea by soaking castings in water for 24-48 hours and use it to water your plants.
These methods ensure that your plants receive a continuous supply of nutrients, promoting healthier growth and resilience against pests and diseases.
Are worm castings safe for all types of plants?
One of the significant advantages of worm castings is their safety for various plants. They are non-toxic and can be used on:
- Vegetables: Enhance growth and yield without the risk of chemical buildup.
- Flowering plants: Promote vibrant blooms and healthier foliage.
- Indoor plants: Ideal for houseplants, improving soil health and nutrient availability.
Additionally, worm castings do not burn seedlings or mature plants, unlike some chemical fertilizers. This makes them an excellent choice for gardeners looking to avoid harmful substances.
How to make your own worm castings at home?
Creating your worm castings at home is a sustainable and rewarding process. Here’s how you can start:
- Choose a bin: Select a plastic or wooden bin that is well-ventilated.
- Add bedding: Use shredded newspaper, cardboard, or coconut coir as bedding for the worms.
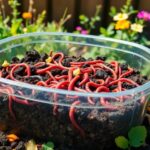
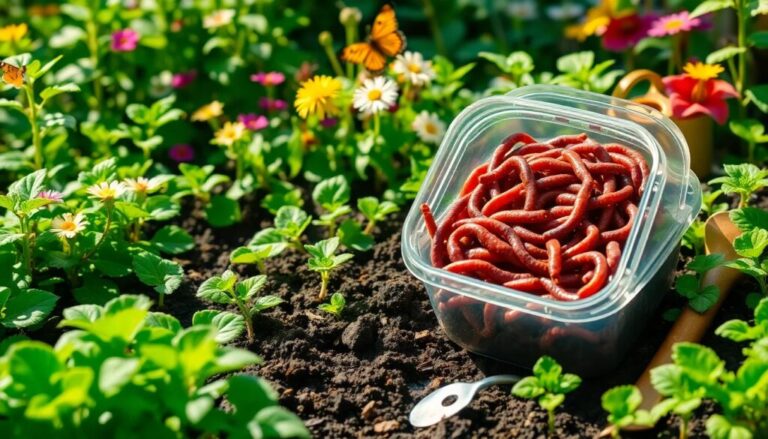
- Introduce worms: Red wigglers (Eisenia fetida) are the best choice for composting. A pound of worms can produce significant amounts of castings.
- Feed the worms: Provide kitchen scraps like vegetable peels and coffee grounds, but avoid citrus and meat products.
- Harvest: After a few months, your worm castings will be ready to use, typically indicated by the dark, crumbly texture.
Homemade worm castings can greatly enhance your garden’s productivity and health, providing a continuous supply of nutrients.
What is the process of harvesting worm castings?
Harvesting worm castings can be done through several methods:
- The migration method: Move the finished bedding to one side of the bin and add fresh bedding to the other side. The worms will migrate to the new bedding, allowing you to collect the castings.
- Screening: Spread the castings out on a screen or tarp and manually remove the worms and any unprocessed material.
- Using light: Worms dislike light, so shining a light on the castings will encourage them to burrow deeper, allowing you to collect the top layer of castings more easily.
Understanding these methods will enable you to maximize your yield and ensure you always have a fresh supply of worm castings for your garden.
How much worm castings should you add to your soil?
Determining the right amount of worm castings to add depends on your garden’s needs. Here are some guidelines:
- For garden beds: Mix 1 to 2 inches of worm castings into the top 6-12 inches of soil before planting.
- In potted plants: Use a blend of 25% worm castings with 75% potting soil for optimal growth.
- For top dressing: Apply a 1/4-inch layer around the base of established plants every few months.
These recommendations help to ensure your plants receive the right nutrients without overwhelming them with excess fertilizer.
In conclusion, the incorporation of worm castings into your gardening routine can significantly enhance soil health and plant vitality. By understanding the benefits of worm castings on garden soil & plants, you equip yourself with the knowledge to foster a thriving garden ecosystem.